Your machine's pressure gauge reads 9 bars during extraction, but the actual pressure at the coffee puck might be 6.5 bars. The gauge on most home espresso machines measures pump pressure or boiler pressure — not the pressure where it matters, at the point of extraction. That 2-3 bar gap explains why identical shots pulled on different machines at "9 bars" taste completely different.
Where Espresso Machines Actually Measure Pressure
Most home machines mount the pressure gauge on the boiler or immediately after the pump. This reading reflects system pressure before losses from plumbing restrictions, flow resistance through the group head, and the coffee puck itself. According to the Specialty Coffee Association, optimal espresso extraction occurs at 9 bars ±1 bar at the point of contact with ground coffee, not at the pump output.
The pressure drop between gauge location and brew chamber varies by machine design. E61 group heads typically lose 1.5-2 bars between boiler and puck due to the long thermal pathway and restrictive flow design. Saturated group heads lose less — usually 0.5-1.5 bars. Direct lever machines eliminate this issue entirely since pressure generates at the group head itself.
Your Espresso Machine PID Controller might deliver perfect temperature stability, but if the gauge reads pump pressure instead of brew pressure, you're still guessing at actual extraction conditions. The difference matters most when dialing in light roasts that require precise pressure control to avoid channeling.
Testing Your Gauge: Portafilter vs Machine Measurement
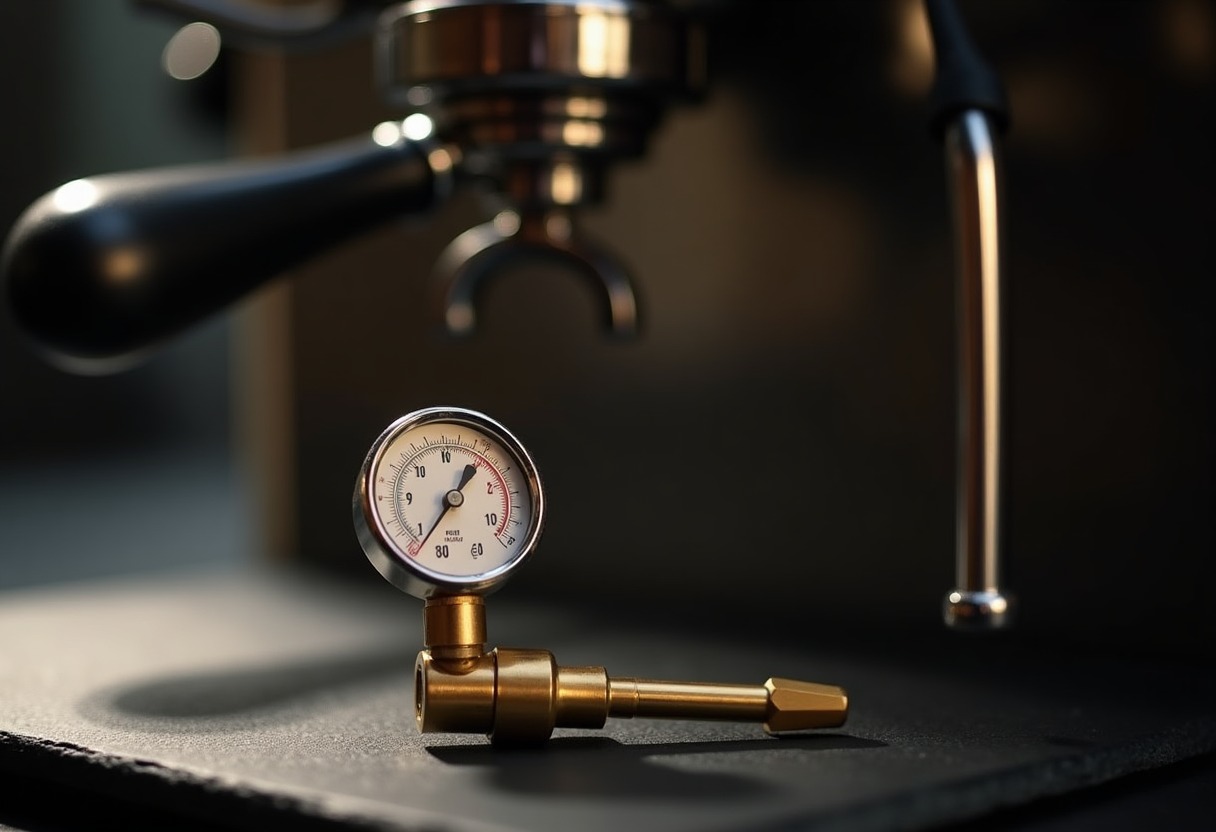
Install a → Shop portafilter pressure gauge on Amazon to measure actual brew pressure. These screw into the portafilter spout or replace the basket with a blank disc containing a pressure sensor. Run a blind shot with the machine gauge reading 9 bars — the portafilter gauge reveals true pressure at the puck.
Most machines show a 1-3 bar difference. Heat exchanger machines with E61 groups consistently read 1.8-2.2 bars higher at the pump than at the portafilter. Single boiler machines with simple group heads show smaller gaps of 0.8-1.5 bars. Dual boiler machines vary depending on group head design — saturated groups maintain pressure better than thermosyphon designs.
This measurement changes your entire How To Dial In Espresso workflow. If your machine gauge reads 9 bars but portafilter pressure measures 7.2 bars, you've been under-extracting every shot. Adjust the OPV (over-pressure valve) or pump pressure until portafilter pressure reaches your target — typically 8-9 bars for medium roasts, 6-7 bars for light roasts following Espresso Pre Infusion Timing Pressure Curves.
Pressure Measurement Comparison: Where Different Machines Read
| Machine Type | Gauge Location | Typical Gauge Reading | Actual Brew Pressure | Pressure Loss | |--------------|---------------|----------------------|---------------------|---------------| | E61 Heat Exchanger | Boiler/pump outlet | 9.0 bars | 6.8-7.5 bars | 1.5-2.2 bars | | Saturated Group Dual Boiler | Brew boiler | 9.0 bars | 8.0-8.5 bars | 0.5-1.0 bars | | Single Boiler Thermoblock | Pump outlet | 9.0 bars | 7.5-8.2 bars | 0.8-1.5 bars | | Manual Lever | Group head (direct) | 9.0 bars | 8.8-9.2 bars | 0-0.5 bars | | Pressure Profiling Machine | Brew chamber sensor | 9.0 bars | 8.5-9.0 bars | 0-0.5 bars |
Manual lever machines from brands like La Pavoni and Flair deliver the most accurate pressure readings because the gauge mounts directly at the group head. Pressure profiling machines like the Decent and higher-end Lelit models use brew chamber sensors that measure within millimeters of the puck surface. Standard E61 machines show the largest discrepancy.
The pressure drop through Espresso Group Head Types explains why two machines set to identical gauge pressures produce different extractions. Your Best Coffee Grinders Espresso choice matters less if brew pressure varies 2 bars from displayed pressure.
Calibrating and Adjusting Your Machine's Pressure
Adjusting pump pressure requires accessing the OPV (over-pressure valve) or pump bypass screw. Most vibration pumps use a spring-loaded adjustment screw on the pump body. Rotary pump machines adjust pressure via the OPV mounted on the brew circuit. Never adjust based solely on the machine gauge — use a → Shop portafilter pressure sensor on Amazon to verify actual brew pressure.
Start with the machine at operating temperature. Lock in the portafilter gauge with a blind basket. Note the current reading during a simulated extraction. Most machines ship with pump pressure set to 10-11 bars at the pump, expecting 1-2 bars of loss through the system. If your portafilter reads 6.5 bars when the gauge shows 9 bars, increase pump pressure until the portafilter reads your target.
Make quarter-turn adjustments on vibration pumps, eighth-turn on rotary pumps. Test after each adjustment. The relationship isn't linear — the last 0.5 bars of adjustment often requires more turns than the first 2 bars. Document your final settings and retest monthly, as pump performance degrades over time.
Some machines like the Profitec Pro 600 and Lelit Bianca include pressure profiling that displays real-time brew pressure via electronic sensors. These machines eliminate guesswork but cost significantly more than standard setups with mechanical gauges.
Product Tools for Measuring Actual Brew Pressure
Install a portafilter pressure gauge between your portafilter and basket. The Fluke 9-bar gauge screws into standard portafilter spout threads and displays real-time pressure during extraction. → Shop espresso pressure gauge tools on Amazon for options ranging from $40 mechanical gauges to $150 digital sensors with smartphone connectivity.
Group head thermometers pair well with pressure testing. A → Shop group head thermometer on Amazon confirms whether temperature stability matches pressure consistency. Machines with poor pressure regulation often show temperature swings during the same shot.
Scace 2 devices measure both pressure and temperature simultaneously but cost $400-500. For most home setups, a $60 portafilter gauge provides sufficient accuracy. The Decent DE1 and similar profiling machines include built-in pressure graphing, making external gauges unnecessary.
Professional-grade manometers offer lab-level accuracy but require permanent installation. A → Shop barista pressure measurement tools on Amazon reveals options for both temporary testing and permanent monitoring setups.
Advanced Pressure Profiling Beyond Static Measurement
Pressure profiling machines separate pre-infusion pressure, peak pressure, and declining pressure phases. The Decent DE1 graphs pressure in real-time at 0.1 bar resolution, measured at the group head rather than the pump. This precision reveals how pressure changes throughout extraction — information completely invisible on standard machines with single-point gauges.
Understanding pressure curves matters when pulling light roasts that channel easily. A machine showing steady 9 bars on its gauge might actually fluctuate between 7.2 and 8.8 bars during the shot, causing uneven extraction. Profiling machines maintain target pressure within ±0.2 bars throughout the entire extraction window.
Manual levers achieve similar control through physical feedback. The Espresso Flow Profiling Manual Lever Machines guide covers pressure manipulation via lever position. Spring-lever machines provide natural declining pressure profiles as the spring decompresses — a pressure curve that mimics commercial pressure profiling but relies on mechanical design rather than electronic control.
Static pressure gauges tell you average pressure but hide the pressure variance that causes channeling and uneven extraction. A shot that averages 9 bars might spike to 11 bars during the first five seconds, then drop to 7 bars as the puck compacts. Standard gauges show 9 bars. Profiling equipment reveals the destructive spike that cracked your puck.
Pair accurate pressure measurement with proper technique from Best Espresso Tampers and Espresso Extraction Yield Target Range to close the loop on extraction control. The combination of verified brew pressure, precise temperature from your PID, and appropriate grind from Conical Vs Flat Burr Grinders eliminates most variables in espresso preparation.
FAQ
How much pressure do I actually need for espresso extraction?
The standard 9 bars refers to pressure at the coffee puck, not pump pressure. Most coffees extract optimally between 8-10 bars of actual brew pressure, measured at the point of contact with ground coffee. Light roasts often benefit from slightly lower pressure around 7-8 bars to prevent channeling, while darker roasts tolerate 9-10 bars without over-extraction. Your machine's gauge might need to read 10-12 bars at the pump to deliver 9 bars at the puck, depending on group head design and plumbing restrictions.
Can I trust the pressure gauge on my espresso machine?
Most machine gauges measure pump or boiler pressure, not brew pressure. The reading reflects system pressure before losses through group head components and the coffee puck itself. Typical pressure drop ranges from 0.5 bars on saturated group heads to 2+ bars on E61 heat exchangers. Only machines with brew chamber pressure sensors (found on profiling machines like Decent, ECM Synchronika with flow control, or Lelit Bianca) display actual pressure at the puck. Standard boiler-mounted gauges provide relative feedback but not absolute brew pressure.
What causes the pressure difference between gauge reading and actual brew pressure?
Flow restriction through the group head assembly causes most pressure loss. E61 groups force water through long pathways, restrictive valves, and narrow passages before reaching the shower screen. Each component creates resistance that drops pressure. The coffee puck itself accounts for 1-2 bars of resistance depending on grind size and dose. Single boiler machines with direct flow paths lose less pressure than heat exchanger designs with complex thermal management systems. Worn group seals, clogged shower screens, and restricted flow restrictors increase pressure loss beyond design specifications.
How do I measure actual brew pressure without expensive equipment?
Install a portafilter pressure gauge — a mechanical gauge that screws into your portafilter spout or replaces the basket with a pressure sensor disc. Lock the portafilter into the group, start extraction, and read pressure during the shot. These gauges cost $40-150 depending on accuracy and features. Run multiple test shots to account for gauge placement variations and thermal effects. Compare the portafilter reading to your machine gauge during simultaneous measurement. The difference reveals your machine's actual pressure loss, allowing you to adjust pump pressure for accurate brew pressure targets.
Should I adjust my grind or my pressure when shots pull too fast?
Adjust grind first, pressure last. Grind size controls extraction through particle surface area and flow resistance — the primary variables in espresso preparation. Pressure adjustment compensates for machine-specific losses or enables pressure profiling for specific coffee characteristics. If shots pull faster than your target time, grind finer to increase resistance and slow flow. Only adjust pressure after confirming your machine delivers accurate brew pressure through portafilter testing. Changing pressure to compensate for incorrect grind creates a cascade of extraction problems that proper grinding would solve directly.
Closing
The gauge reading 9 bars means nothing if brew pressure measures 7 — verify actual pressure at the puck, then adjust your entire workflow around that number instead of trusting a gauge measuring the wrong point in your machine.
Some links on this page are affiliate links. We may earn a small commission if you purchase through them, at no extra cost to you.