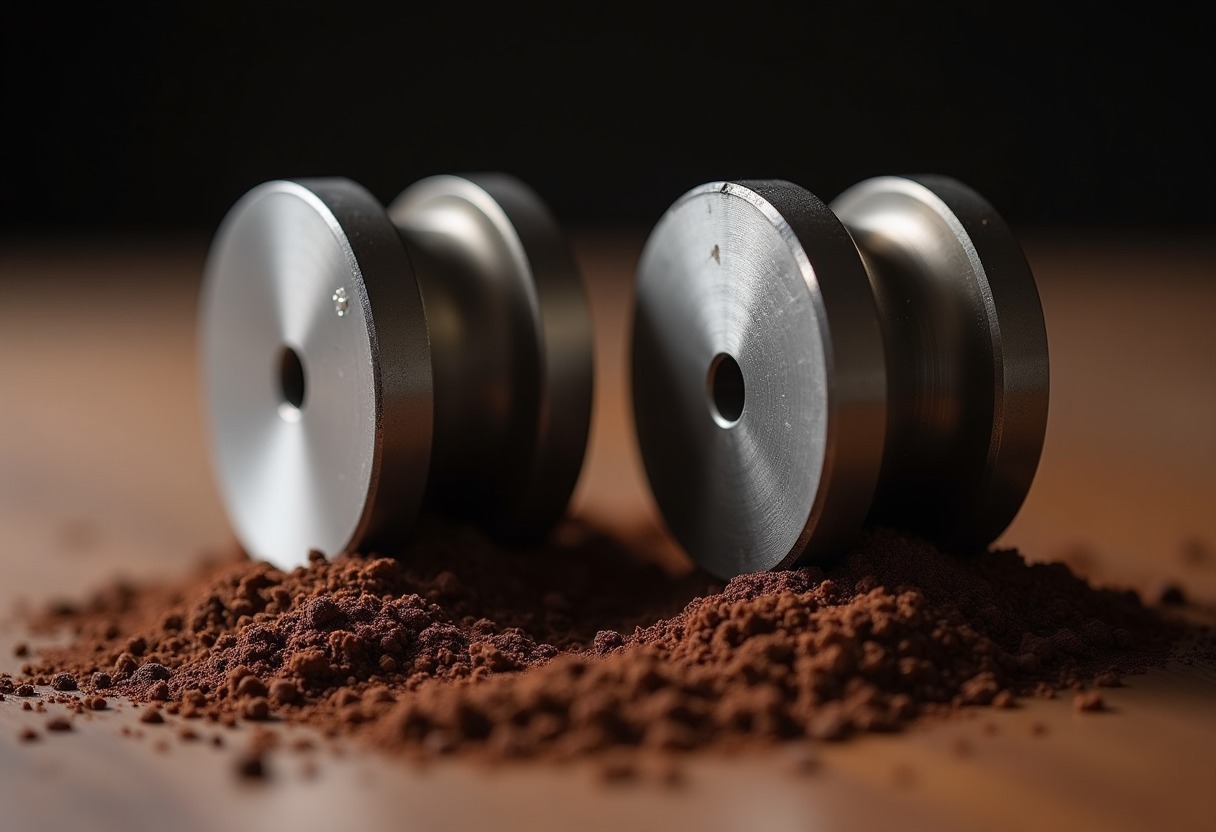
New espresso grinder burrs produce inconsistent particle distribution and often taste metallic for the first several pounds of coffee. The manufacturing process leaves microscopic irregularities and machining oils on the cutting surfaces that affect both grind quality and flavor until the burrs are properly seasoned through use.
Why New Burrs Need Seasoning
Burr manufacturing involves precision machining that creates sharp cutting edges but also leaves surface imperfections at the microscopic level. Whether you've purchased one of the Best Coffee Grinders Espresso or upgraded to replacement burrs, the break-in period matters.
Fresh burrs exhibit three problems that seasoning addresses:
Surface texture inconsistencies create uneven particle distribution. The cutting edges haven't achieved their final geometry yet. As coffee passes through during break-in, the bean oils and particles wear down high spots and polish the burr faces to a more uniform finish.
Residual machining compounds from the manufacturing process can leach into your coffee. Even cleaned burrs retain trace amounts of cutting oils, protective coatings, or metal particles in microscopic pores. These compounds affect taste until displaced by coffee oils.
Suboptimal edge sharpness geometry exists initially. Burrs are sharp when new, but not necessarily at the ideal angle for consistent particle fracture. The first pounds of coffee refine the cutting edge to its optimal working geometry.
According to research published by the Specialty Coffee Association, grind uniformity directly correlates with extraction evenness. Underseasoned burrs produce a wider particle size distribution, meaning some grounds overextract while others underextract in the same shot.
The Complete Burr Seasoning Process
Proper burr seasoning requires 2-4 pounds of coffee, depending on burr size and material. Larger flat burrs (64mm+) need more material than small conical sets.
Start with cheap bulk coffee beans specifically for seasoning — don't waste good beans on break-in. Supermarket medium roast works perfectly. You want something oily enough to coat the burrs but cheap enough to not care about the poor extraction quality during this period.
Day 1: Initial purge (0.5-1 lb)
Set your grinder to medium-fine, roughly where you'd grind for drip coffee. Run through the first half-pound without adjusting anything. This first pass dislodges large manufacturing debris and begins establishing coffee oil coating on the burr surfaces. Discard this coffee entirely — it tastes terrible and may contain metal particles.
After the first half-pound, adjust to your typical espresso setting and grind another half-pound. The goal here is to start working the burrs at the tolerance where you'll actually use them. If you primarily grind at 10 on your Best Espresso Grinders Under 300, season at that setting.
Days 2-3: Primary break-in (1-2 lbs)
Continue grinding 8-12 ounces daily at your target espresso setting. You can use this coffee for practice shots, but don't expect good results. The particle distribution is still settling in.
Some grinders benefit from alternating between espresso-fine and medium grinds during this phase. The varying pressure on different parts of the burr geometry accelerates even wear. Run a half-pound fine, then a quarter-pound medium, then back to fine.
Days 4-7: Refinement (0.5-1 lb)
Once you've pushed 2-3 pounds through, switch to actual coffee you care about. The burrs are 80% of the way there. You'll notice improved shot consistency and the metallic taste should be gone. Continue normal use — the burrs will continue optimizing for another few pounds, but you're past the critical break-in window.
Monitor your extraction during this period. If you're tracking metrics covered in How To Dial In Espresso, you should see tightening standard deviation on your yield as the burr geometry stabilizes.
Burr Material Differences in Break-In Time
| Burr Material | Break-In Duration | Characteristics | Initial vs Seasoned Taste Difference | |---------------|-------------------|-----------------|--------------------------------------| | Stainless steel | 2-3 lbs | Softer material wears faster, reaches stable geometry quickly | Moderate — noticeable improvement after 2 lbs | | Titanium-coated | 3-4 lbs | Harder coating takes longer to establish working surface, more resistant to wear | Significant — coating needs full break-in before tasting clean | | Ceramic | 1-2 lbs | Already smooth surface, minimal manufacturing oils, breaks in fastest | Minimal — mostly just clearing debris | | Tool steel | 3-5 lbs | Very hard material, takes longest to establish optimal edge geometry | Significant — sharpness changes noticeably over break-in period |
The difference between Conical Vs Flat Burr Grinders also affects break-in. Conical burrs have more cutting surface area and typically require an extra pound of coffee to fully season compared to flat burrs of similar diameter.
Burr Alignment Check After Break-In
Once you've seasoned your burrs, verify alignment before committing to regular use. Poor alignment wastes the entire seasoning effort by creating uneven wear patterns that undo the break-in work.
Grab a set of alignment tools designed for your grinder type. The shim-based adjustment method works on most consumer grinders. If your grinder allows burr carrier adjustment, check that the cutting surfaces meet evenly around the entire circumference.
The marker test reveals alignment issues quickly: use a permanent marker to color one burr surface, reassemble, turn the adjustment collar slightly finer than zero (burrs touching), rotate by hand for one full revolution, then disassemble and examine. The marker should wear evenly around the entire burr. Uneven wear patterns indicate misalignment.
Proper alignment becomes more critical after break-in because seasoned burrs have established their working geometry. Misalignment at this point creates localized high-pressure contact points that accelerate uneven wear and degrade the particle distribution you just spent days optimizing.
What Most Guides Miss About Seasoning
Temperature matters during break-in. Running your grinder continuously for 30 seconds at a time during seasoning heats the burrs and accelerates the wear pattern establishment. The thermal expansion mimics heavy-use conditions and helps the burrs find their stable geometry faster. Just don't overheat — if the burr chamber is too hot to touch, you've gone too far.
Direction changes help with conical burrs. If your grinder allows it, briefly reverse rotation after every few pounds during break-in. This isn't possible on most home grinders, but on commercial or modified units, reverse grinding for 10-15 seconds helps establish even wear on both cutting edges of conical burrs. The asymmetric geometry of conicals means forward-only grinding can create slightly biased wear patterns.
Static affects seasoning efficiency. Underseasoned burrs combined with high static retention means you're losing particles to the grind chamber and not effectively polishing the full burr surface. A few drops of water on the beans before grinding (RDT technique) reduces static and ensures better burr surface contact during break-in.
After seasoning, maintain burr performance with regular cleaning using grinder cleaning tablets monthly and burr brushes between dosing. The information in Espresso Grind Retention covers how old coffee oils affect fresh grinding, but the same oils that season your burrs can also build up over time and create rancid flavors.
Some users report improved results by seasoning at slightly coarser than target, then dialing in after the break-in period. The theory: the burrs establish geometry under moderate cutting pressure, then fine-tuning happens once the surfaces are stable. I haven't found conclusive evidence this beats standard same-setting seasoning, but it's worth testing if you're particular about extraction consistency.
FAQ
How much coffee does it take to fully season new espresso grinder burrs?
Most burrs need 2-4 pounds of coffee to fully season, with larger flat burrs (64mm+) requiring closer to 4 pounds and smaller conical burrs often adequate at 2 pounds. Titanium-coated and tool steel burrs take longer than ceramic or stainless.
Can I use old stale beans for the seasoning process?
Yes, stale beans work perfectly for seasoning — in fact, they're ideal because you're discarding this coffee anyway. The oils and particle abrasion matter for break-in, not freshness.
Will seasoning burrs void my grinder warranty?
No, normal use including break-in doesn't void warranties. Seasoning is expected operational procedure, not modification. Just don't attempt burr alignment adjustments or disassembly beyond what your manual specifies during the warranty period.
How do I know when burrs are fully seasoned?
You'll notice three indicators: metallic taste disappears from shots, particle distribution becomes visibly more uniform (fewer boulders and fines), and shot-to-shot consistency tightens noticeably. This typically happens between 2-3 pounds of throughput.
Do I need to re-season burrs after deep cleaning?
Light surface re-seasoning helps after aggressive cleaning that strips oils, but you won't need the full break-in process again. Run a half-pound of cheap coffee after deep cleaning with tablets or solvents to re-establish the oil coating on the burr surfaces.
When to Season vs When to Align
Seasoning addresses break-in and surface conditioning, but if your grinder produces inconsistent shots even after 4+ pounds of break-in coffee, you have an alignment problem that seasoning won't fix. The Espresso Grinder Burr Upgrade Guide covers when replacing or upgrading burrs makes more sense than trying to optimize poorly-aligned or worn factory burrs.
Some links on this page are affiliate links. We may earn a small commission if you purchase through them, at no extra cost to you.
As an Amazon Associate we earn from qualifying purchases. This article contains affiliate links; if you buy through them we may earn a small commission at no additional cost to you.